Car wheels are crucial for a smooth riding experience, while they also have an impact on the vehicle’s aesthetics. Therefore, vehicle owners must allocate time for wheel maintenance. One of the most common problems with car wheels is the curb rash. Besides harming your vehicle’s aesthetics, curb rash may unbalance your automobile, leading to a vibration during the rides. In this article, let’s discuss the curb rash repair procedure. You can do it yourself, though finding a professional wheel shop in Monroe, LA, will fetch you more comfort.
What Is Curb Rash?
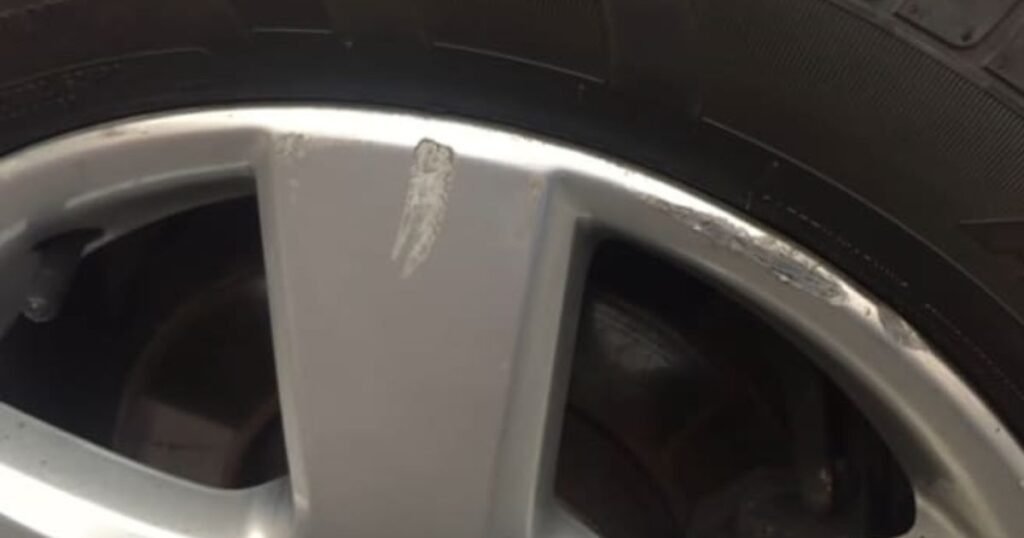
Before knowing about the repair procedure, it is crucial to understand the problem well. Curb rash, also known as rim rash, happens when rims come in contact with potholes, curbs, and other hard objects. The friction generated due to the contact causes scratches to the rims.
Sometimes, rims may succumb to significant damage. Fixing the damaged wheels is essential to improve driving safety. At the same time, curb rash repair will make the car’s appearance spotless again.
People looking to sell their vehicles should also fix the curb rash problem. Improving the vehicle aesthetics will fetch a better price for your car. So, you should never skip repairing curb rash if you want to sell your car to someone for a decent price.
Damage Assessment and Requirement for Tools
The first step to repair curb rash is damage assessment. You need to adopt repair measures according to the extent of damage to the wheels. Furthermore, you need to have certain tools to conduct the procedure. In the following section, find a quick look at the tools that are essential for fixing curb rash problems.
- Rubber mallet
- Sandpaper
- Rim cleaning solution
- Rim protectors
- Microfiber cloth
- Touch-up paint
Steps to Repair Curb Rash
You need to follow a few crucial steps to conduct the repair process. Alternatively, you can look for a service provider for curb rash repair near me. The following section explains the steps to conduct curb rash repair with precision.
Step 1: Clean the Wheel
Your first job is cleaning the wheel using the rim cleaning solution. You can find such solutions at the nearby wheel shops. Alternatively, you can purchase the product online. Use the solution generously to remove grime, dirt, and brake dust with precision.
Step 2: Sand Down the Affected Area
You need to identify the affected area and apply sandpaper to sand down the area. In the beginning, you must use sandpaper to remove the deeper scratches. In the next step, you should use the finer grits to make the affected area smooth. Pay attention while doing the job since you should not apply sandpaper on the areas that are not affected.
Step 3: Fix the Bent Rims
When the rim comes in contact with hard objects, it may get bent. Your next step to curb rash repair is fixing the bent rim. The fixing can be done using a rubber mallet. You need to take extra care if the wheels have aluminum rims.
Step 4: Apply Touch-up Paint
The next step is applying touch-up paint, which will protect the rim from corrosion. Moreover, the paint will enhance the aesthetic appearance of the rim.
Step 5: Add a Rim Protector
You can prevent the curb rash repair cost in the future by adding a rim protector. A rim protector is not too expensive, and you can prevent major damage to the wheels by adding this to the rims.
Conclusion
So, these are the steps that one should follow to complete the curb rash repair procedure. Keep in mind that the procedure is time-consuming. Nevertheless, it requires skill to complete the job with precision. Therefore, it would be more appropriate to seek professional assistance on curb rash repair than doing it yourself.


